

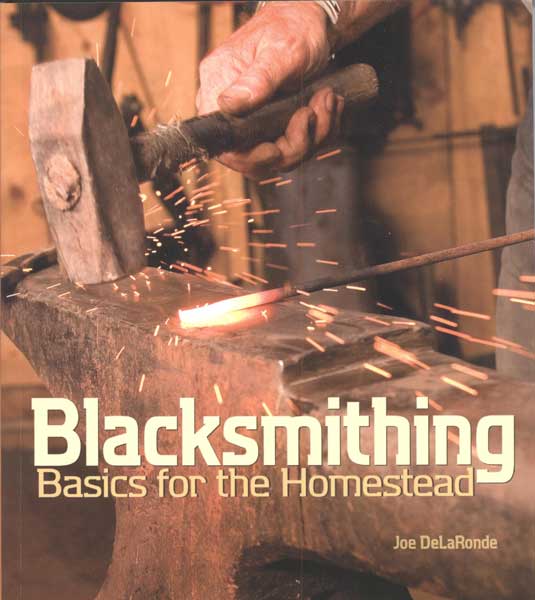
Basic Blacksmithing Techniques
This is an excerpt (and illustrations) from Blacksmithing: Basics For The Homestead by Joe DeLaRonde, and features some of the basic blacksmithing techniques.
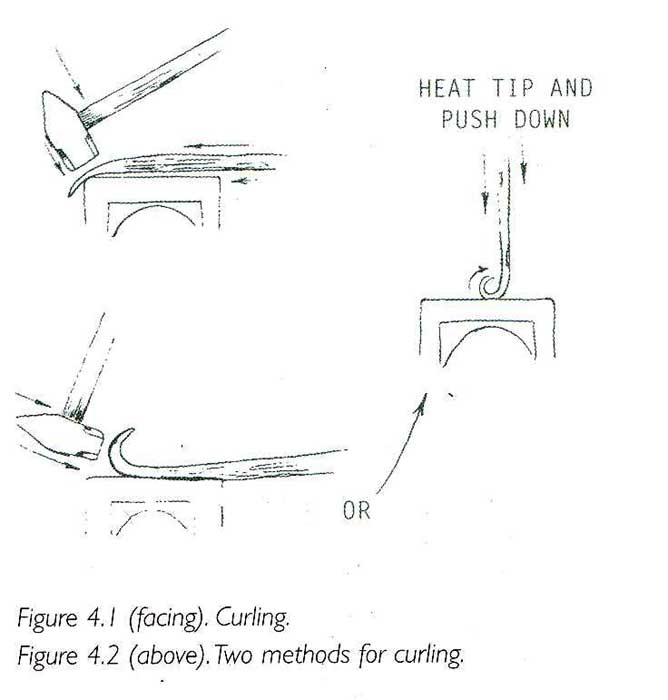
“Curling: Curling is a decorative touch normally done after the end has been flattened or drawn to a point. (See figures 4.1 and 4.2)
 “Drawing Out: This is one of the simplest of the basic techniques, but it is used time and again from the basic projects to the complex. When working red-hot iron, keep in mind that it is like putty. Using the putty analogy, by squeezing and pushing the putty between your thumb and forefinger it gets longer and thinner (drawn out), the same as the hot iron. Push it together and it gets thicker (upset). When drawing out a rod that is round, it will always begin square. From the square it is worked to hexagonal, and then to the finished round configuration. When drawing the piece down, use the hammer in somewhat of a pushing motion as shown in Figure 4.3. This will facilitate the movement of the material toward the tip or end of the piece on which you are working. This is used in making everything from nails to axes and knives and is the process of tapering the end of the rod or piece being worked. Regardless of whether the piece is square or round, the tapering begins as a square.
“Flaring: This method is usually used in reference to tubing or pipe where the edge is pushed out to be wider than the body, or flared. (Figure 4.4.)
Fullering: In these methods, a fuller is used to spread, notch or draw out hot iron.”